
Tuesday, 27 December 2016
Project Coma
For something completely out of the blue, here are the player-side documents for v0.1 of 'Project Coma', a scribble of an RPG.
It's heavily inspired by Lacuna Part 1 by Jared Sorensen, but with an Apocalyse World-style rule set and playbooks, with a sprinkling of Amber, Night's Black Agents. Or, to put it another way, imagine if John le Carre and Kafka teamed up to rewrite Inception.
Having said all that, this document is super thin, as much an invitation for a playstorming session as anything.
Project Coma v0.1 PDF

Saturday, 10 December 2016
Which Way to the Sun?
File this under "perspective is weird". Last summer on a camping trip, we were stargazing just after sunset. I remarked how—bizarrely—the lit region of the moon appeared to point above the horizon, despite the fact the sun was below the horizon.

What the heck is happening?
A recent blog post by Randall Munroe (which I can't find right now) asserted this was impossible, which made me question my memory. I have, however, just seen precisely the same phenomenon tonight, which makes me confident it's a real thing and perspective is just plain weird.
Here's a couple of stills out of a video I shot to prove it. Some things to notice:
1. The moon is way higher in the sky than the sun is. (The moon is perhaps 30 degrees above the horizon, the sun is setting.)
2. Nevertheless, the lit portion of the moon is the upper right quadrant.
3. Without any other markers to suggest what's going on, this is pretty weird.


Fortunately, there are some other markers I didn't realize until I was annotating the photographs: the horizontal lines on the long hardware store that appears in both images.
In the first picture, the roof lines appear to go "up" to the west, in the direction of the sun, but in the second picture, they go back down again. In fact, the horizontal roof line in the first image makes it clear that it's not really the "upper" portion of the moon that's lit at all: the line to the sun is straight south, following the roof line. It's just that in that linear perspective, horizontal lines which are above you appear to go "up" as you get to the edge of your field of view.
Since we're "below" the moon (at least from my Earthen reference point) we can see the partially unlit 'bottom' of the moon and none of its partially unlit "top".
The root error in thinking this scenario is possible is assuming that these lines are straight. You'd actually need a fish-eye lens to see both at the same time, which would force "straight" lines to be curved:


What the heck is happening?
A recent blog post by Randall Munroe (which I can't find right now) asserted this was impossible, which made me question my memory. I have, however, just seen precisely the same phenomenon tonight, which makes me confident it's a real thing and perspective is just plain weird.
Here's a couple of stills out of a video I shot to prove it. Some things to notice:
1. The moon is way higher in the sky than the sun is. (The moon is perhaps 30 degrees above the horizon, the sun is setting.)
2. Nevertheless, the lit portion of the moon is the upper right quadrant.
3. Without any other markers to suggest what's going on, this is pretty weird.


Fortunately, there are some other markers I didn't realize until I was annotating the photographs: the horizontal lines on the long hardware store that appears in both images.
In the first picture, the roof lines appear to go "up" to the west, in the direction of the sun, but in the second picture, they go back down again. In fact, the horizontal roof line in the first image makes it clear that it's not really the "upper" portion of the moon that's lit at all: the line to the sun is straight south, following the roof line. It's just that in that linear perspective, horizontal lines which are above you appear to go "up" as you get to the edge of your field of view.
Since we're "below" the moon (at least from my Earthen reference point) we can see the partially unlit 'bottom' of the moon and none of its partially unlit "top".
The root error in thinking this scenario is possible is assuming that these lines are straight. You'd actually need a fish-eye lens to see both at the same time, which would force "straight" lines to be curved:

Thursday, 1 December 2016
The Call of the Light
As some of the others have done, this adventure started out as a stubborn visual I couldn't get out of my mind: a massive heap of automaton parts under the baleful light of a lamppost.
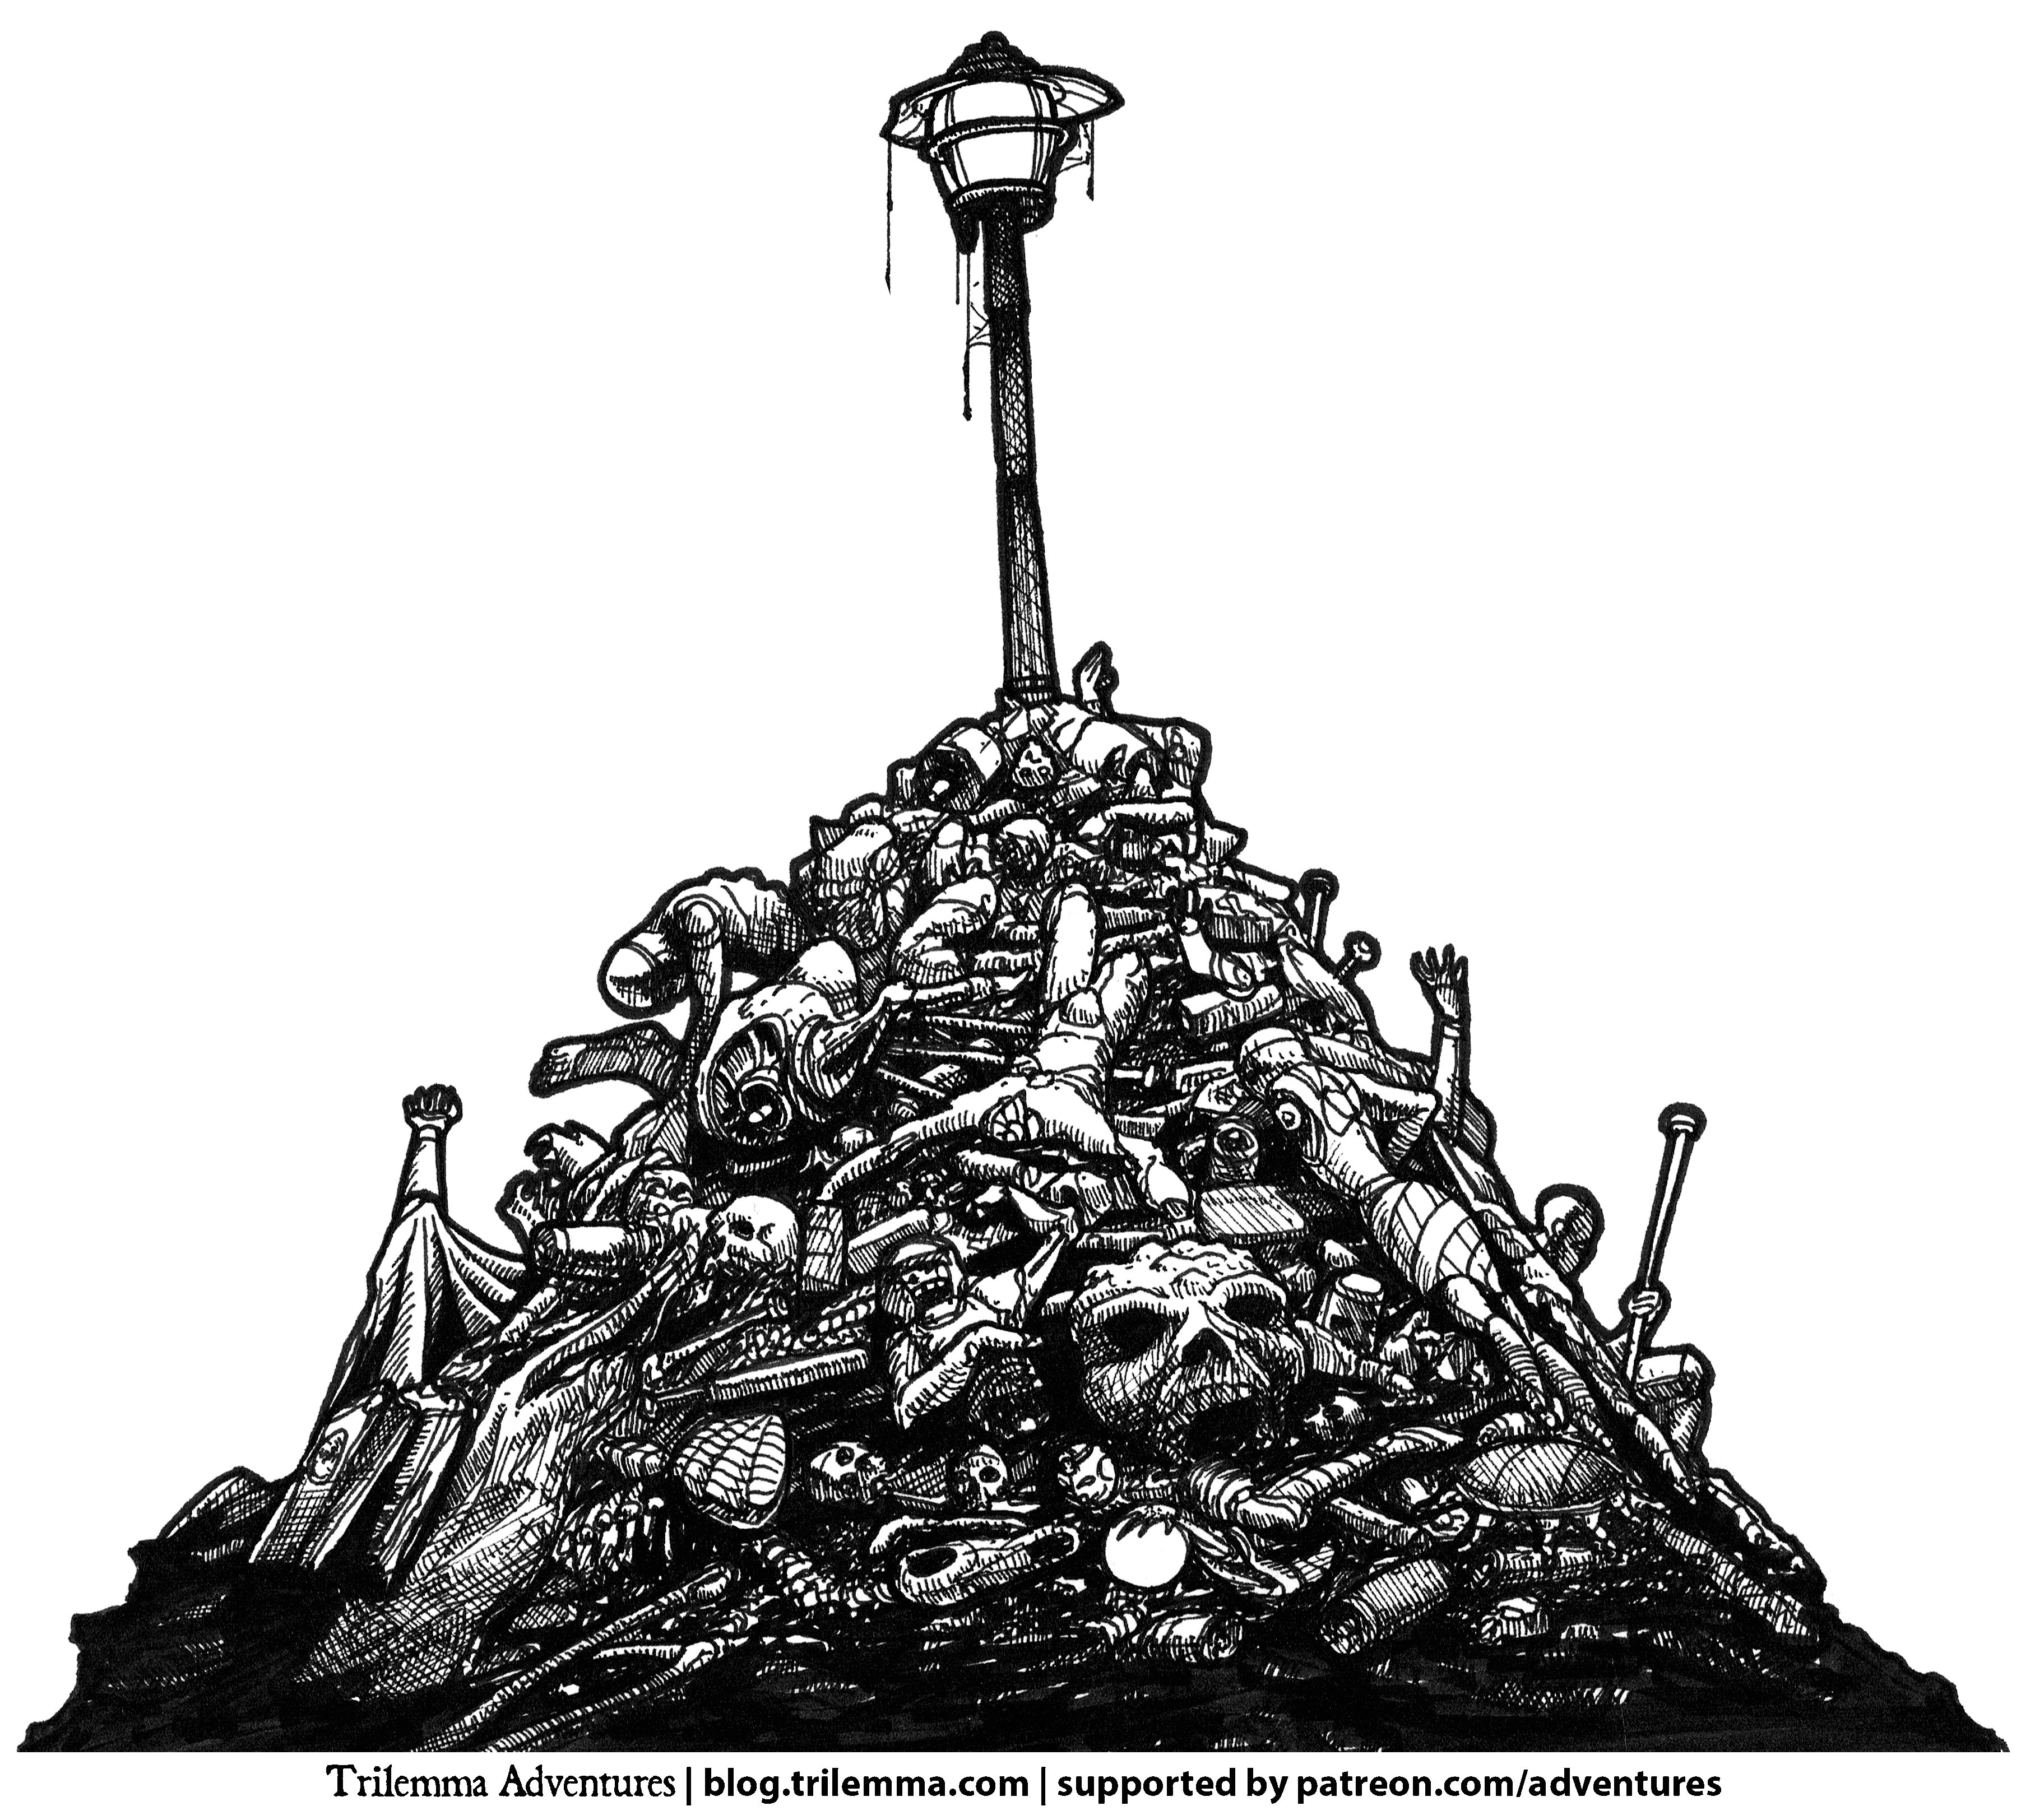
What brought them there? Why, the call of the light.
As always, thanks to my generous patrons, the art and text for this month's adventures are free for non-commercial use under the CC-BY-NC creative commons license. Enjoy!
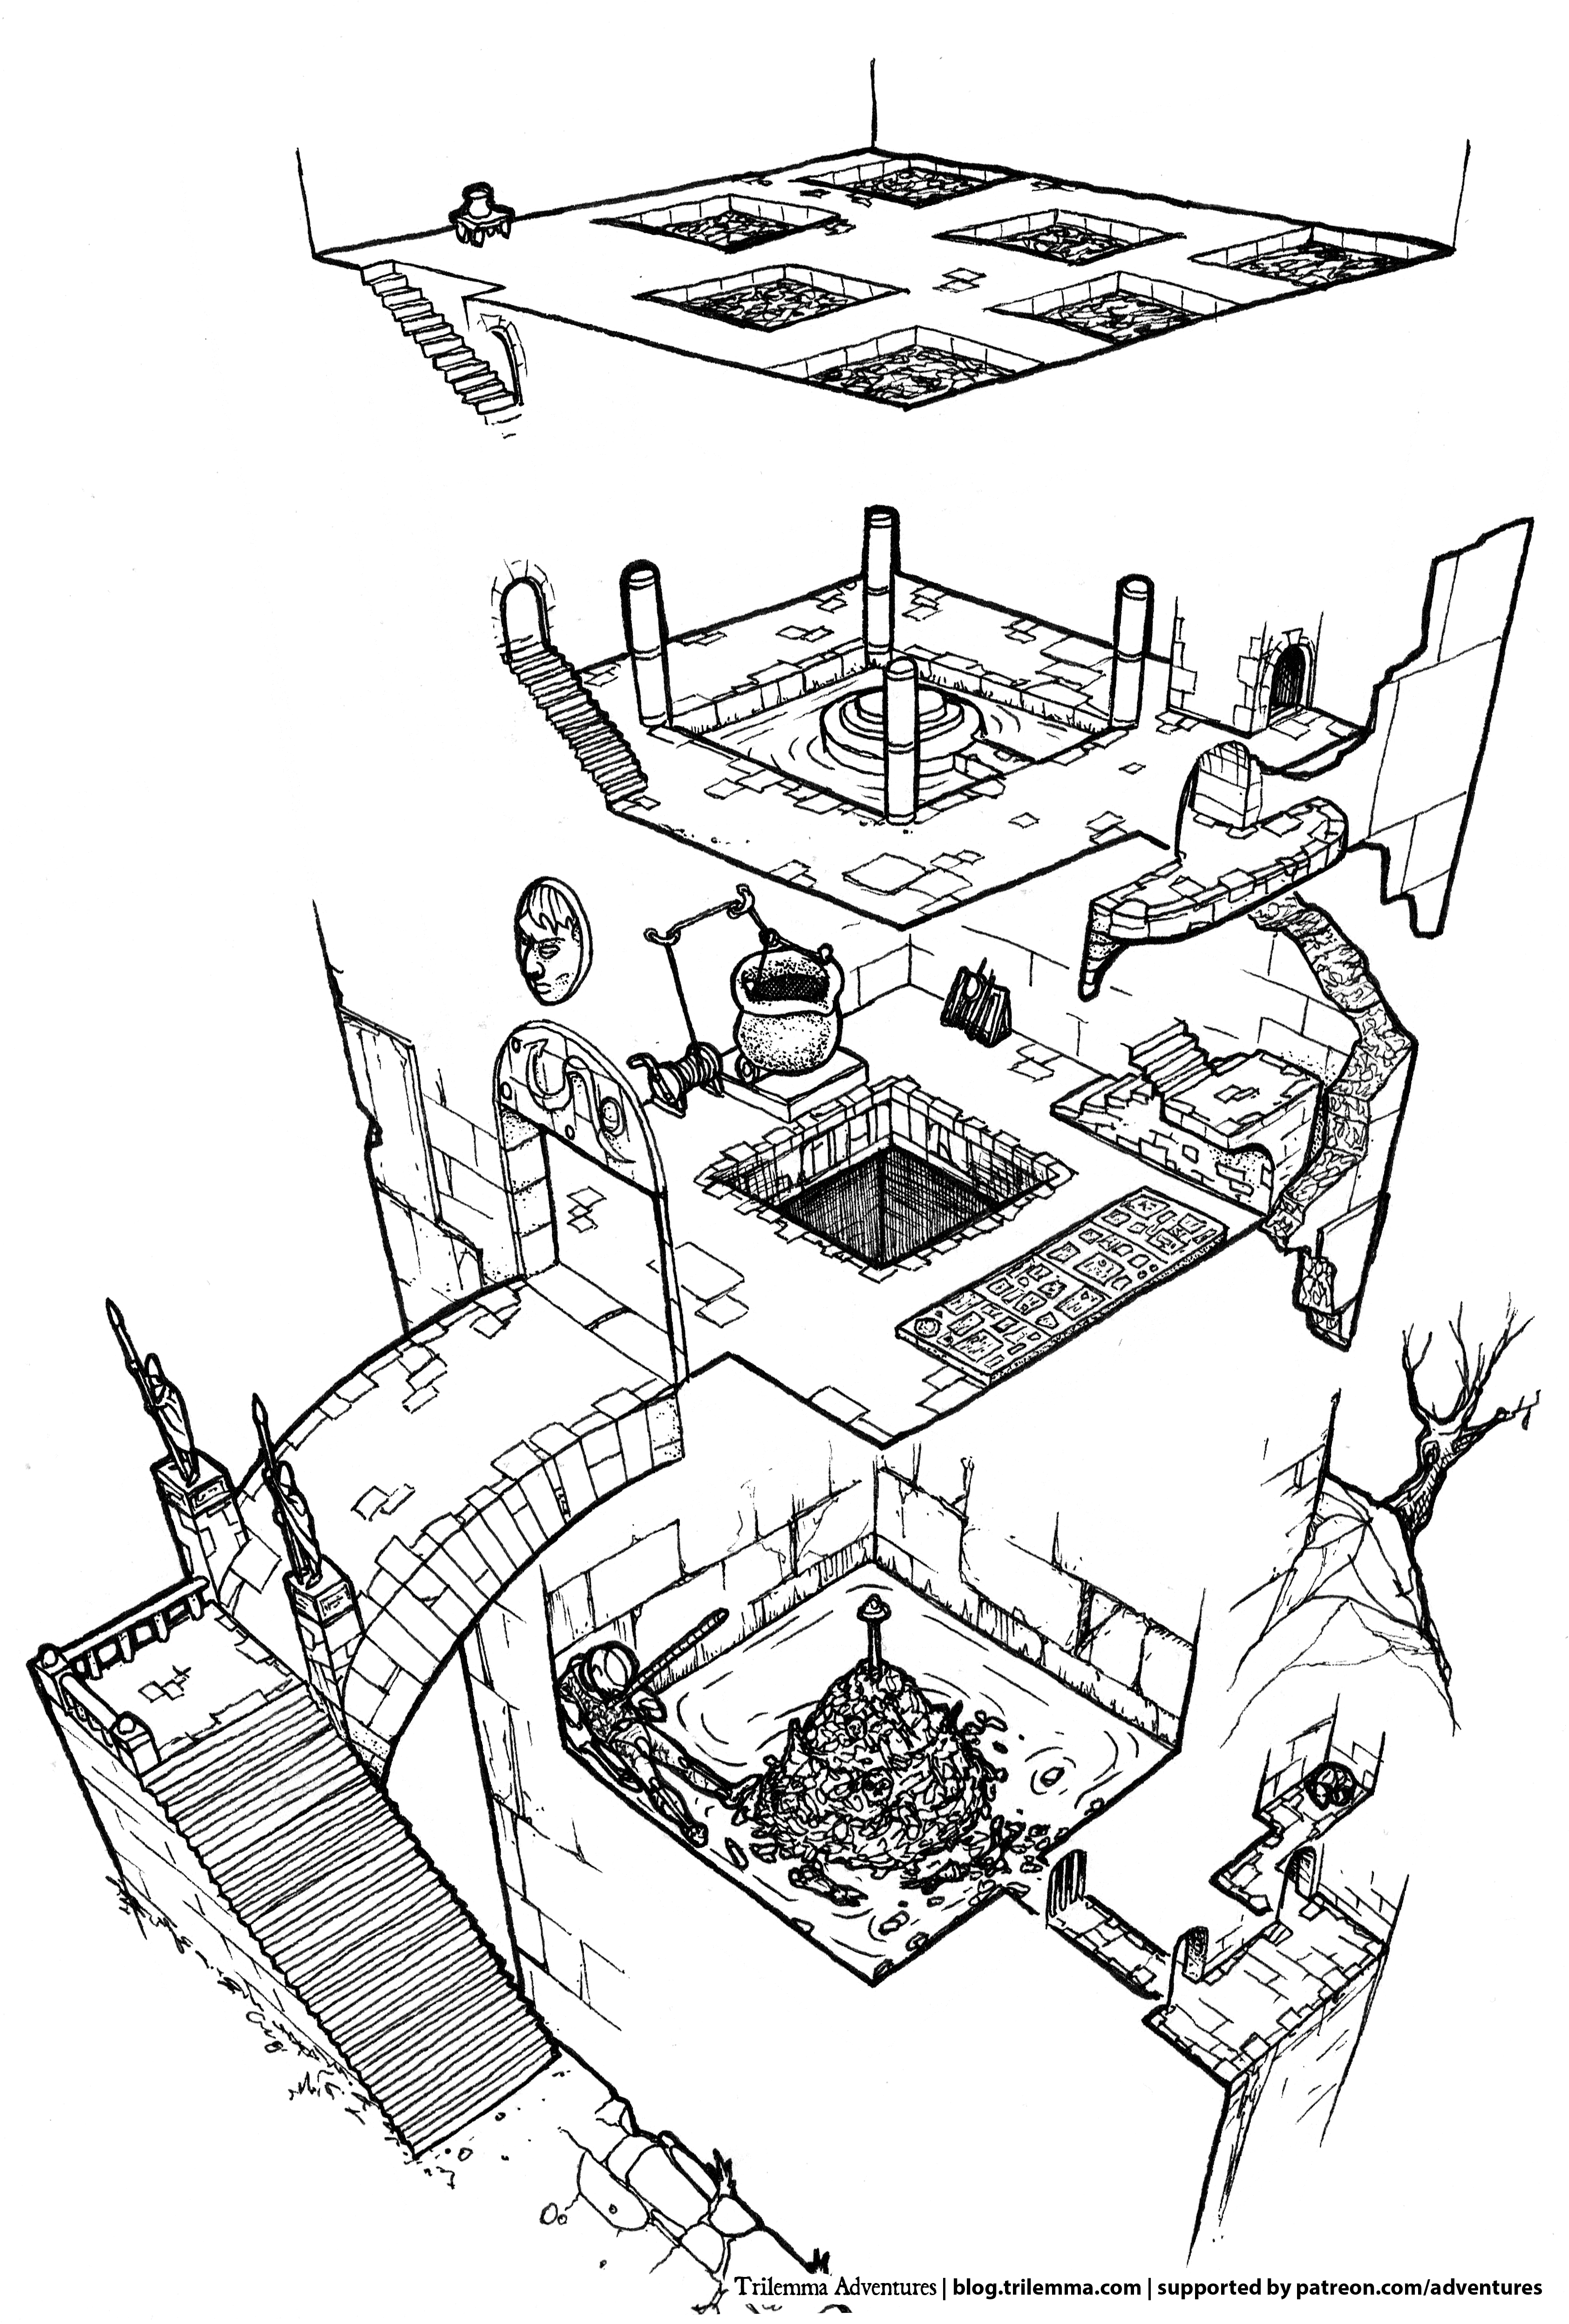
What brought them there? Why, the call of the light.
As always, thanks to my generous patrons, the art and text for this month's adventures are free for non-commercial use under the CC-BY-NC creative commons license. Enjoy!
Thursday, 24 November 2016
Isometric Dungeon Tutorial #3 - Village Well
Short little post today to point people to a third isometric drawing tutorial, this time a village well.
After a long dry spell of suffering with OS-basis video editing, I'm back to using a real editor, so I can make the whole thing go by much faster, while still stopping to call out a few things I've breezed by in the past, notably freehand circles.
Tuesday, 1 November 2016
The Cleft of Five Worlds
For better or for worse, the visual that inspired this image has been in my head for more than a decade: a huge, vertically stacked dungeon region, dominated by the massive circular structure created by a cabal of aloof wizards.
Now I finally know what's there!
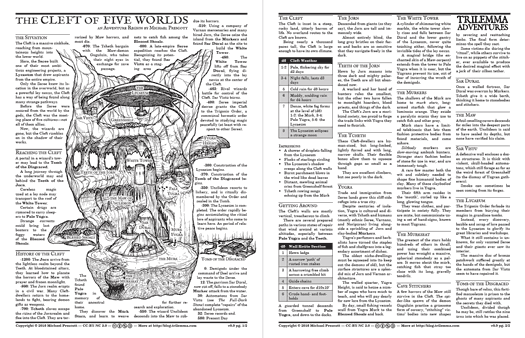
The Cleft of Five Worlds is an adventure region. Rather than a specific, detailed adventure, it describes a bunch of adventure sites and settlements in relation to one another.
I will revisit it to flesh out its parts in later months, but the enterprising among you will have no trouble stocking it or ripping out bits you want to use elsewhere in the meantime!
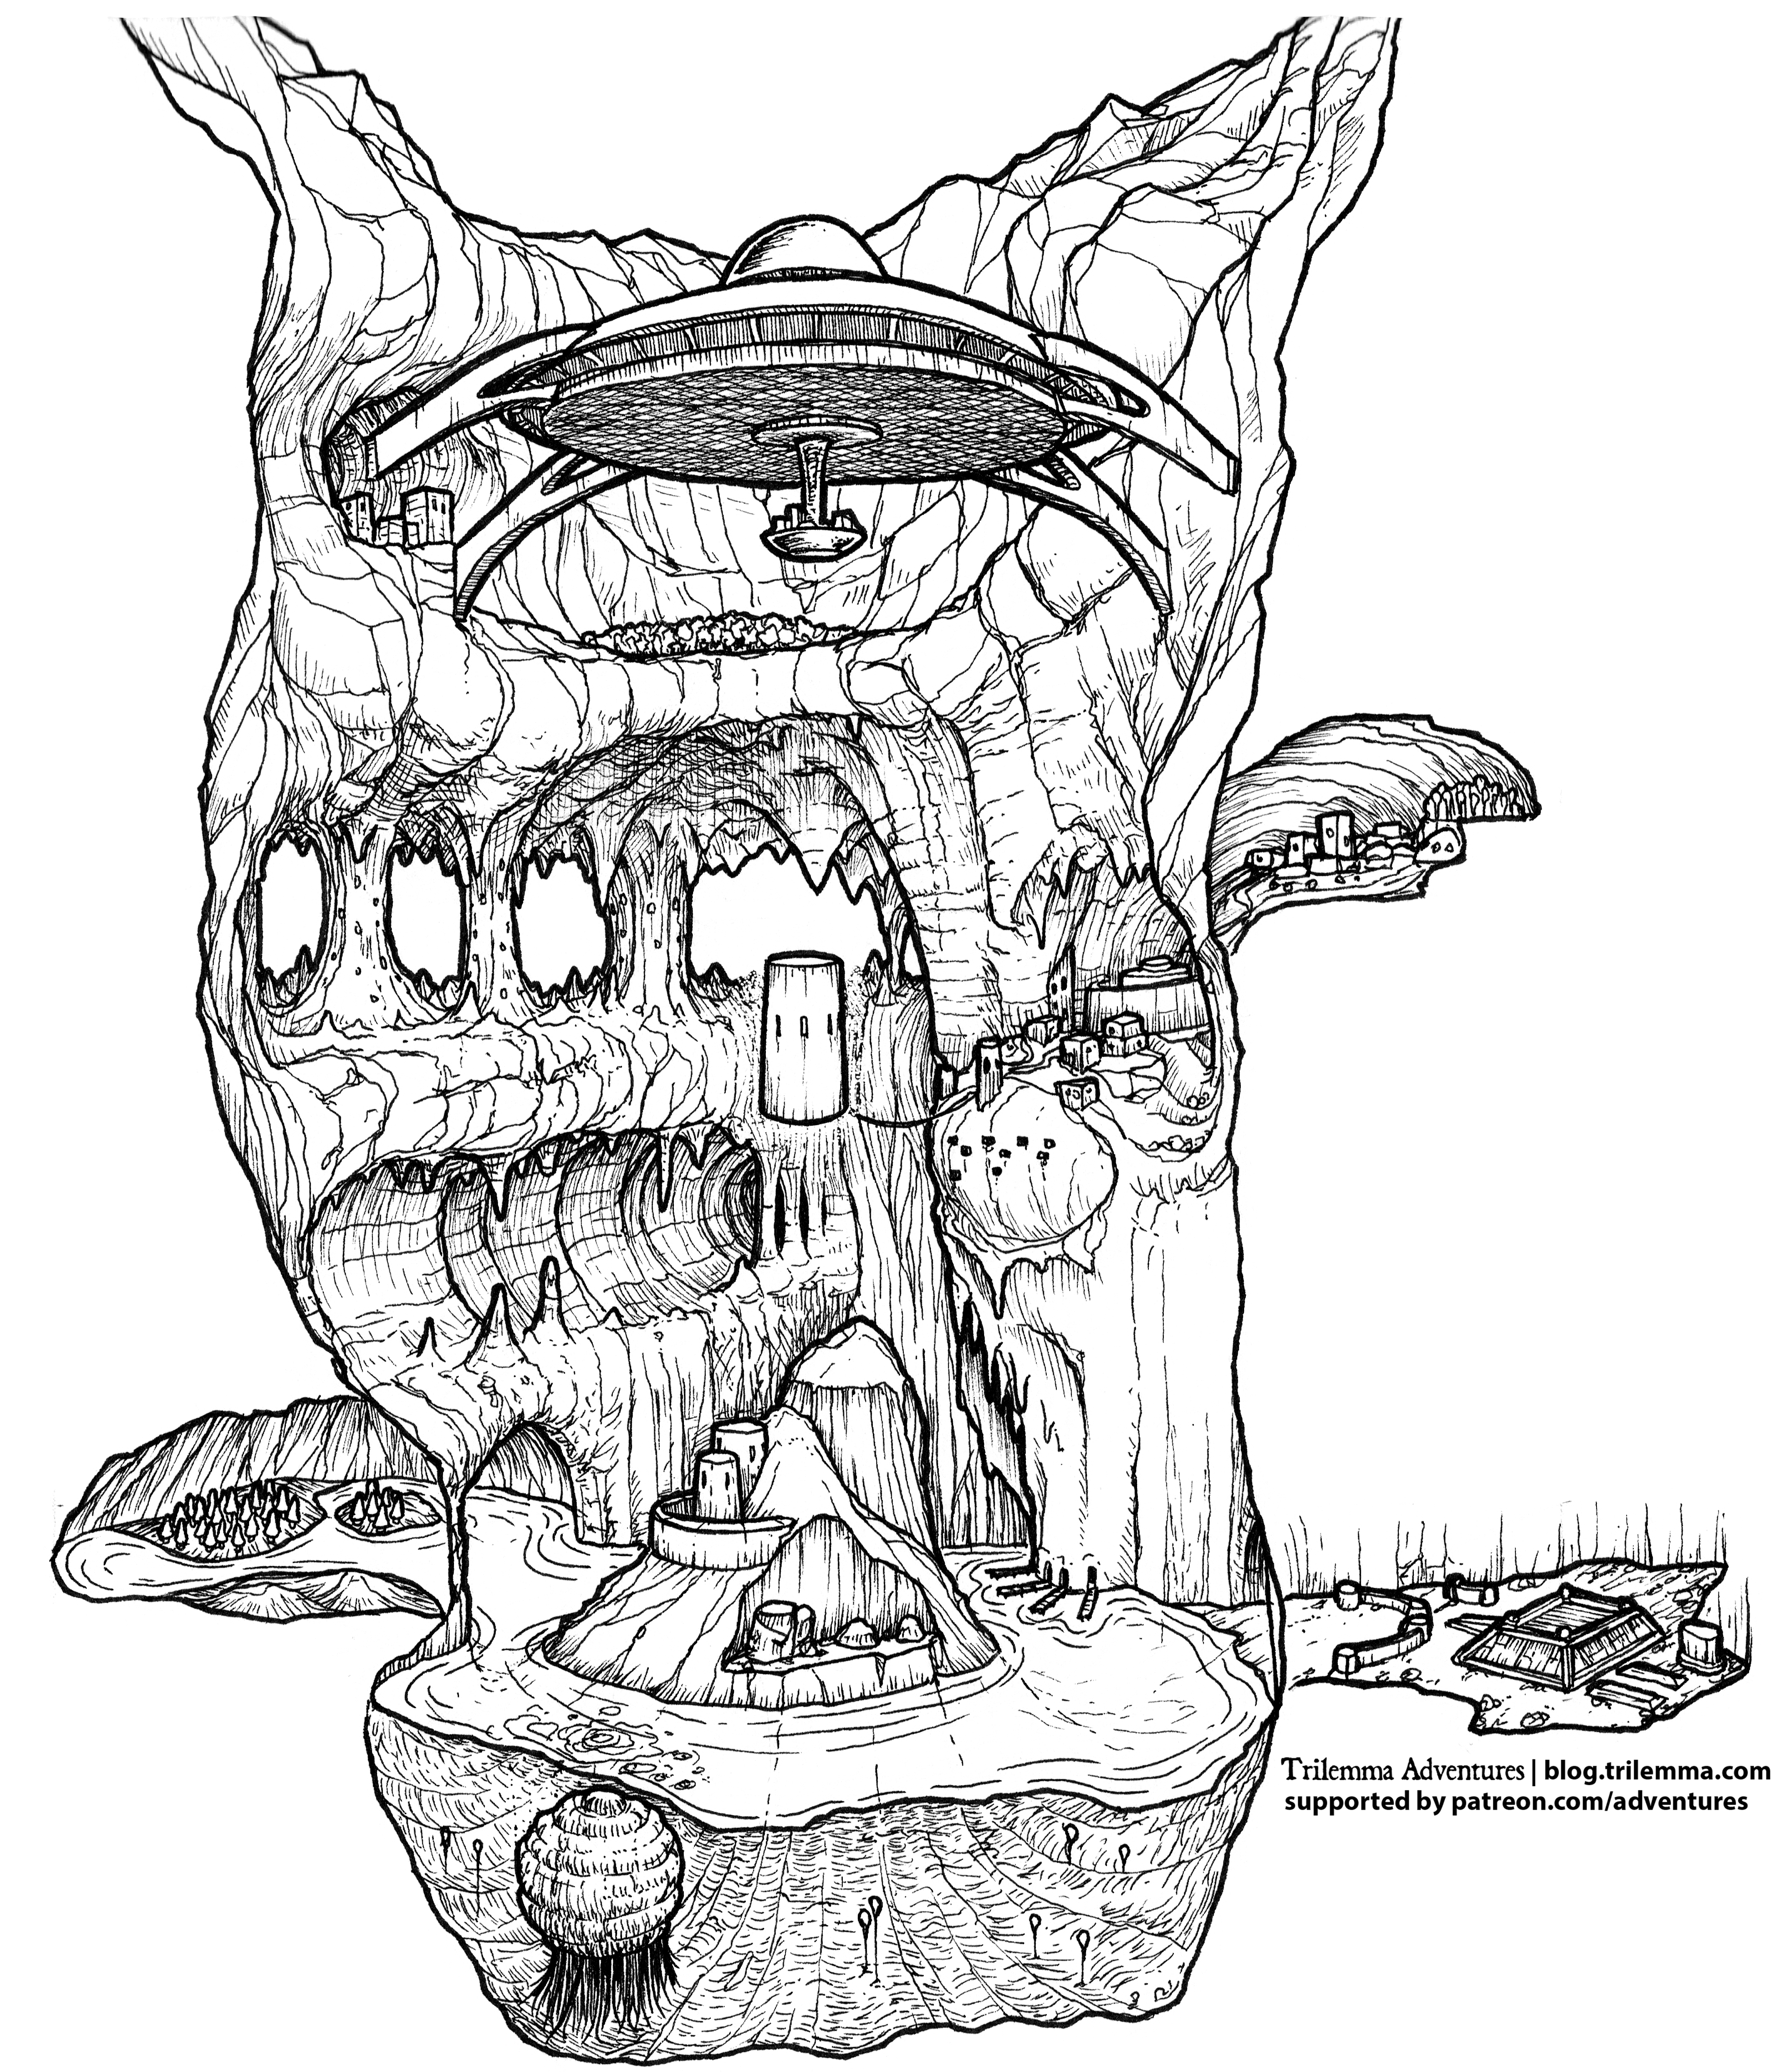
Now I finally know what's there!
The Cleft of Five Worlds is an adventure region. Rather than a specific, detailed adventure, it describes a bunch of adventure sites and settlements in relation to one another.
I will revisit it to flesh out its parts in later months, but the enterprising among you will have no trouble stocking it or ripping out bits you want to use elsewhere in the meantime!
Saturday, 1 October 2016
Lair of the Lantern Worm
Deep in the desert, a Heelan death cult flirts with a horror of the underworld to snatch secrets from beyond the gray veil. Click on the thumbnail to download the free PDF:
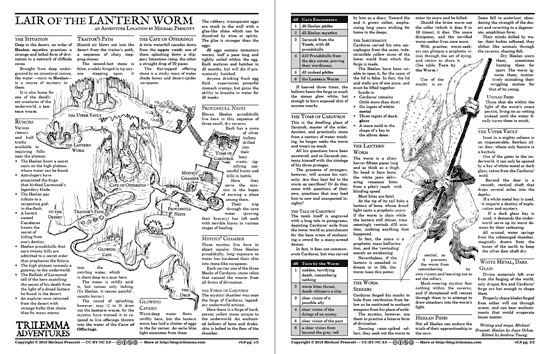
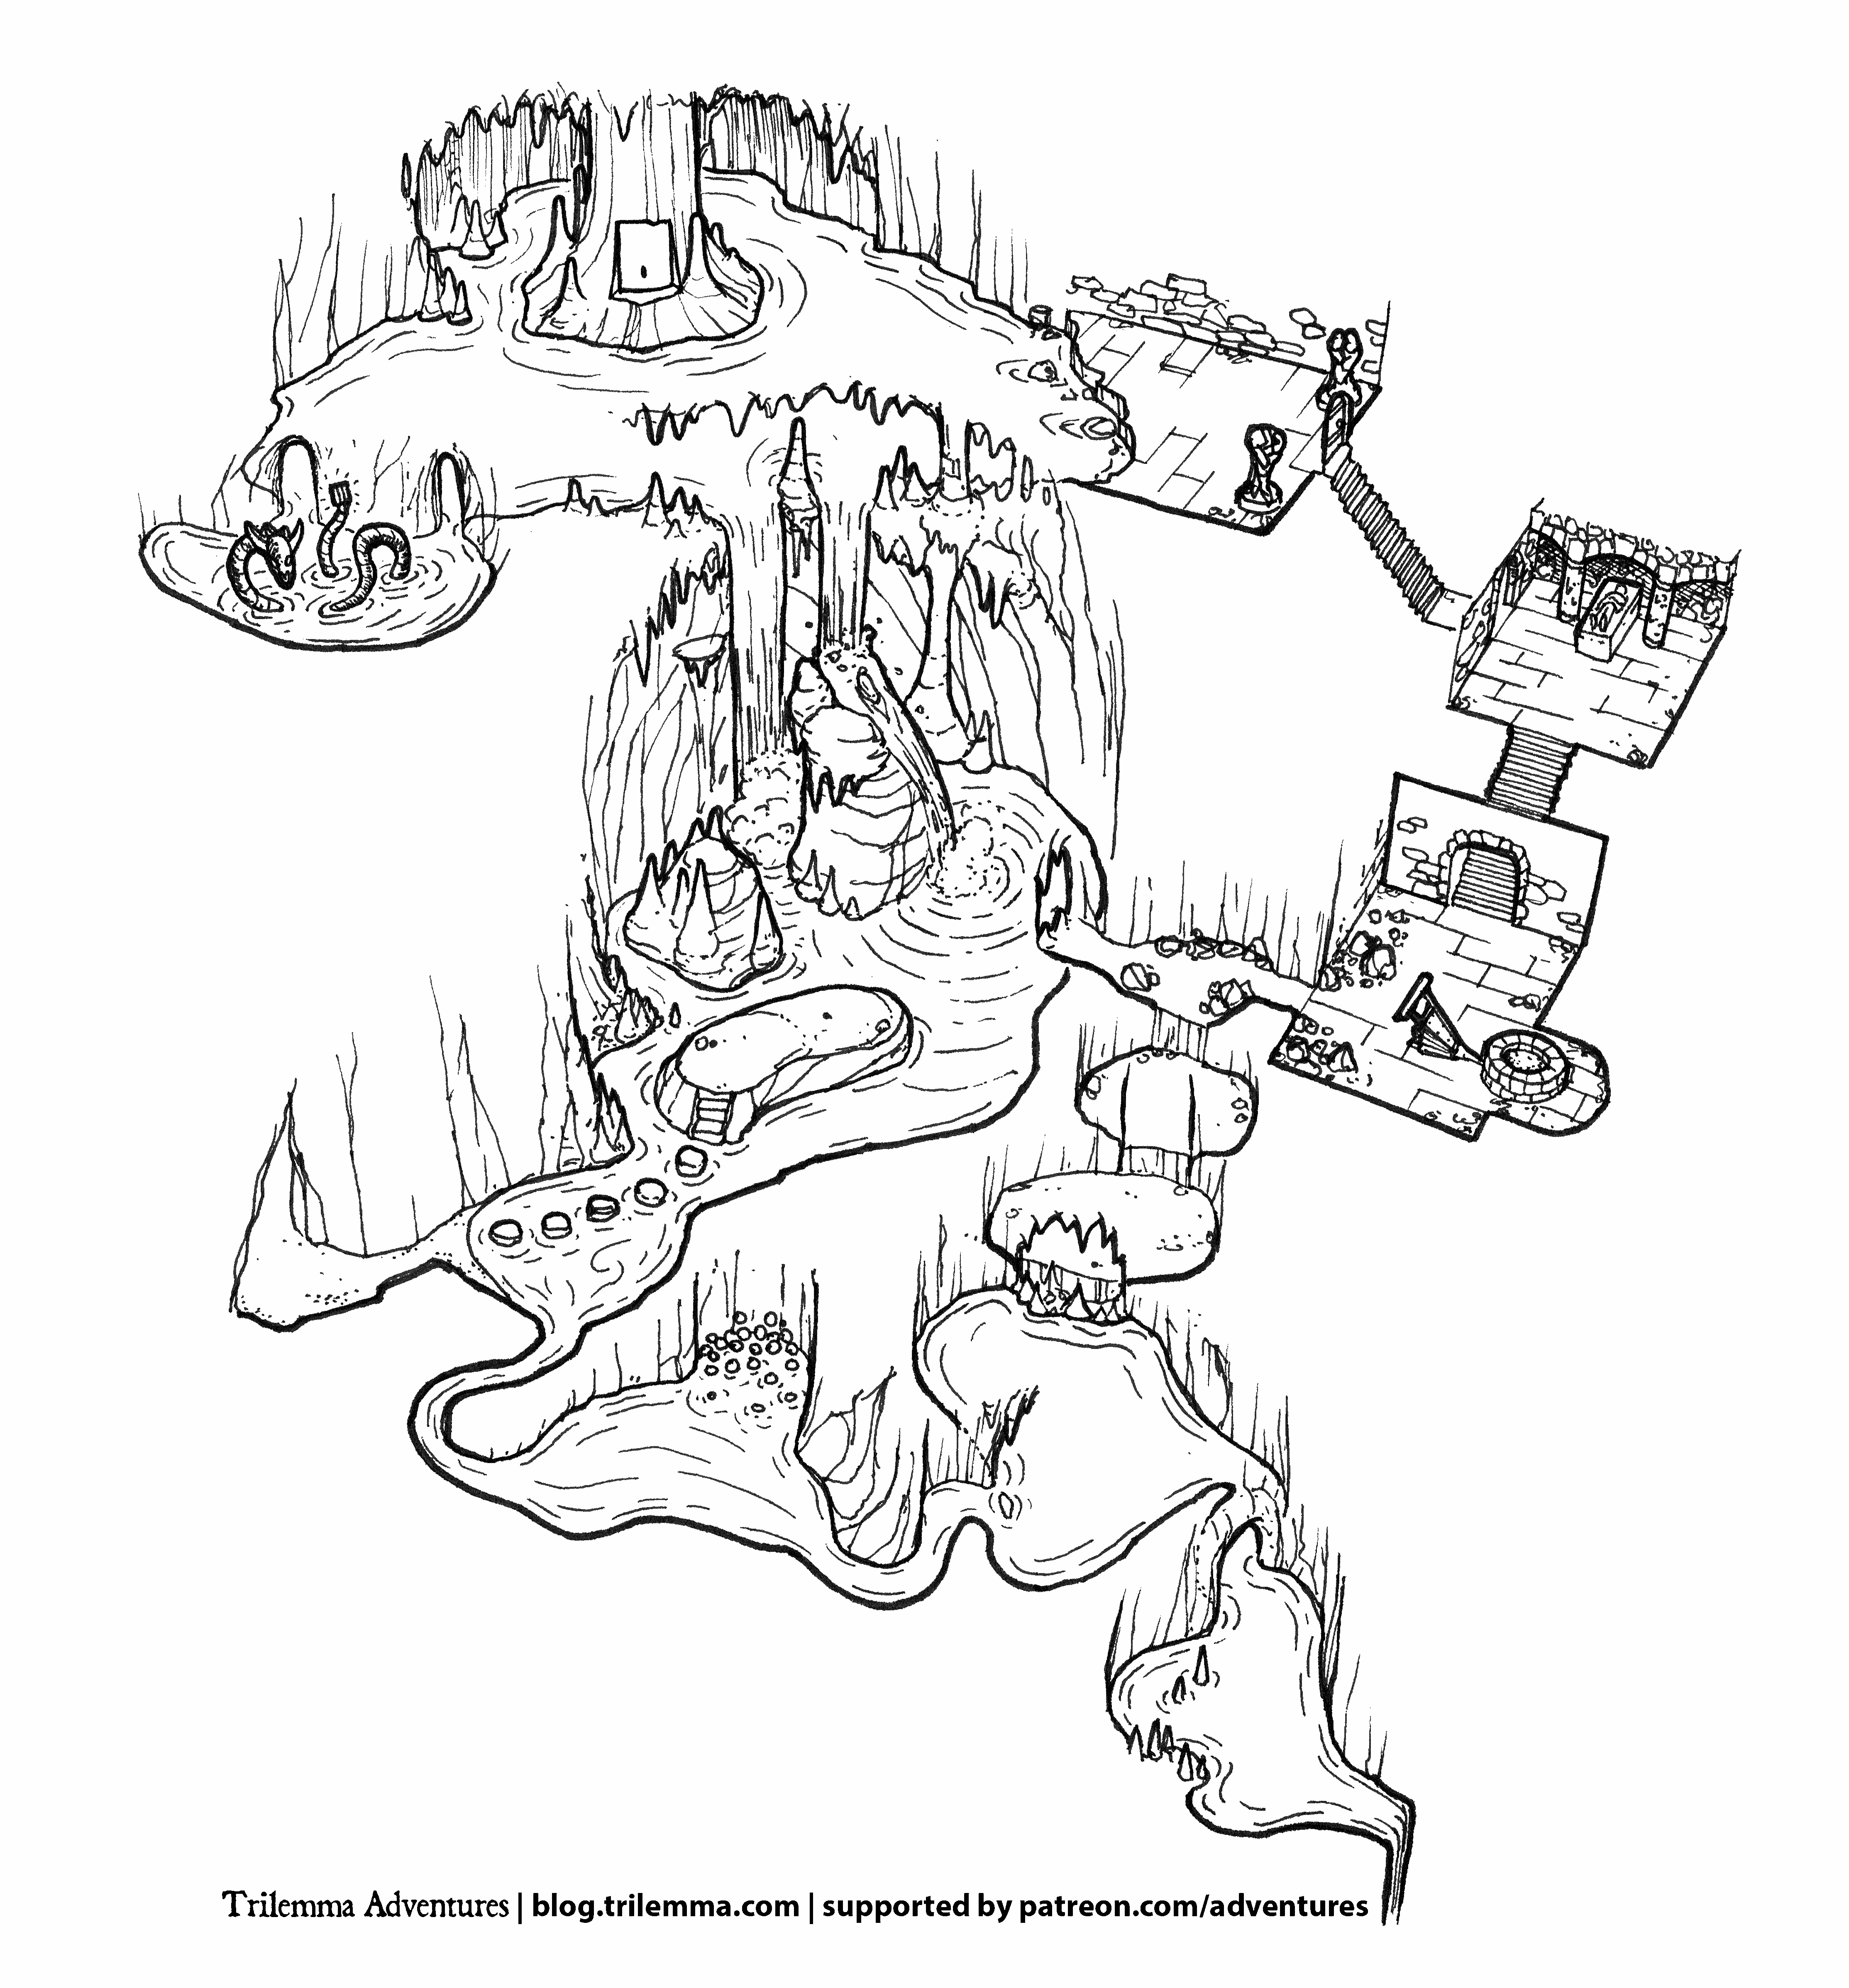
Although I expect most people will use it standalone, this adventure caps off something of a Heelan trilogy which started way back with The Oracle's Decree, and was expanded on in last month's The Roots of Ambition.
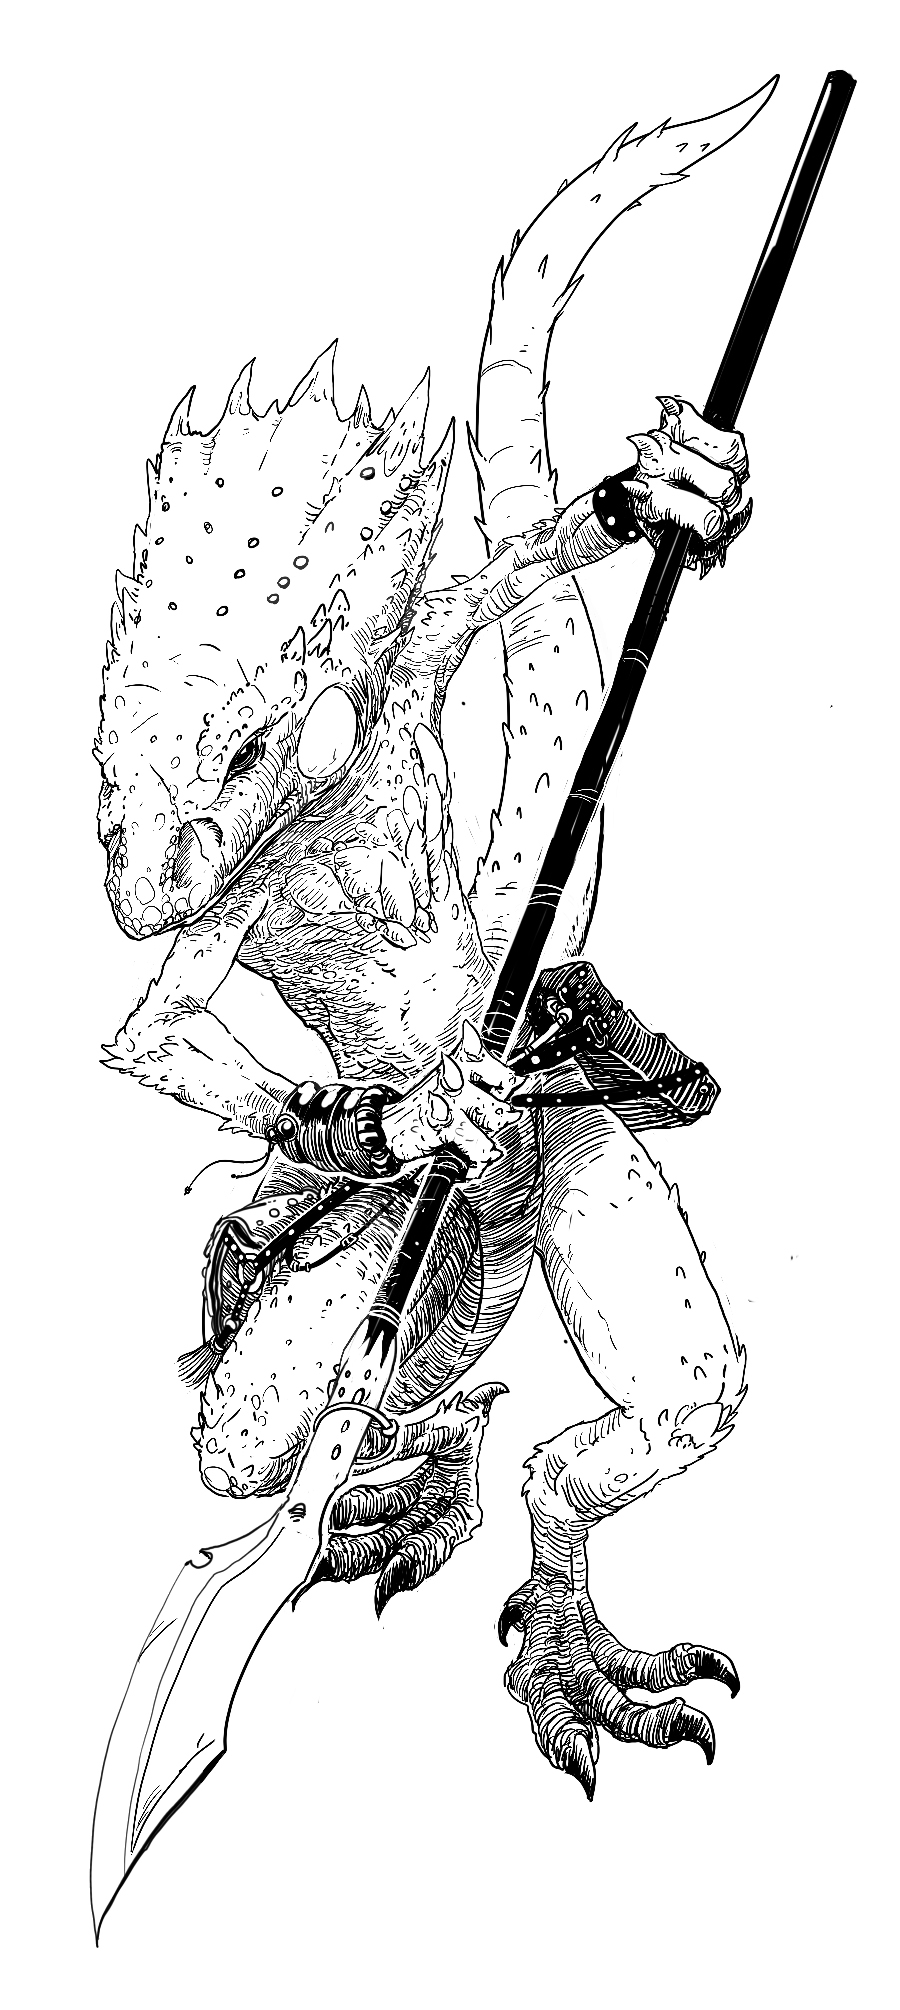
This adventure is also slightly unusual in that it features art by Juan Ochoa, who did an amazing job on a Heelan proudskull.

Although I expect most people will use it standalone, this adventure caps off something of a Heelan trilogy which started way back with The Oracle's Decree, and was expanded on in last month's The Roots of Ambition.
This adventure is also slightly unusual in that it features art by Juan Ochoa, who did an amazing job on a Heelan proudskull.
As you all probably know by now, this goodness (or badness?) is supported by a bunch of generous folks who back my Patreon campaign. If you find this content useful or inspiring, consider tossing a buck in the jar!
Saturday, 10 September 2016
Isometric Tutorial Videos
I've started a series of isometric tutorial videos, showing how I draw various pieces of dungeon architecture. So far I've done some stairs and a set of arched double doors.
I'm using graph paper from Incompetech, specifically the "isodots", with the dots set to light blue. Using cyan dots lets me pull them out easily with Photoshop (using a black and white adjustment layer with the cyan slider set all the way to white).
The basic points I cover are:
- block out the 3D space the object is going to occupy
- ensure you're rigorously following the isometric lines - all drawings are flat, so this is important to reinforce the impression of three-dimensionality
- finding points in 3D space often happens by finding the intersection between a vertical and a horizontal line (as with the stair creases)
- texture adds character, but must also follow the isometric axes or you'll quickly spoil the 3D impression
- circles are tricky - as with other shapes, first draw the square tht the square that the circle occupies, then draw it as four separate arcs
- draw your objects from the front of your dungeon to the back so you don't accidentally
- draw in pencil first (ideally blue, so you can use the same PS trick to remove it without having to erase)
- use a waterproof pen, so you don't smudge your ink
- use thicker lines to indicate depth changes between objects
Hope it's useful!
Subscribe to:
Posts (Atom)